From Overwhelmed to Organized: How the S.O.R.T. Method Transformed a Cluttered Home Office into a Dream Workspace
When Sara (not her real name!) first reached out, she told me her home office had turned into a bit of a catch-all room instead of the office space she needed. Papers were stacked in piles, craft supplies had taken over the desk, and little odds and ends everywhere. It had become the place where the family set things down “just for now” when they didn’t know where else to put them.
She wanted a bright, organized space where she could actually get stuff done—and maybe even have some space to spend time crafting time with her kids. The only problem? She was overwhelmed and didn’t know where to start. She just needed a little help to bring it all together—and that’s where we come in! :)
Together, we tackled the mess step by step and turned her catch-all chaos into a dreamy workspace using our four-step S.O.R.T. method: 1-Strategize, 2-Organize, 3-Refine, and 4-TLC/Maintenance.
Here’s how we made it happen!
1-Strategize
From the moment I walked into her office, I could see it was packed with not only stuff but lots of possibilities! She had so many things in the room and ideas for how she wanted to use them in the space - home office stuff, paperwork, workout gear, art supplies and more! But with so much to sort and figure out, she felt overwhelmed about where to start.
My job was to help her get unstuck, create a clear plan and help her bring that dream to life! We started the first phase of the process, Strategize, by breaking it down into small, totally-doable tasks.
The Vision Takes Shape: Creating the North Star Statement
Set Goals: I asked her to describe how her ideal space would look, feel, and function. She envisioned a calm, inspiring room in soft colors, with space for her home office and where she could have room work and to do crafts with her kids. Writing down these goals gave us clarity and helped us create her North Star Statement to keep the project aligned to her goals from start to finish.
Schedule It: Using the calendar template, we planned the project timeline listing out the main tasks involved such as creating a mood board, shopping, creating a budget, organizing, decluttering, installing, etc. over the next four weeks.
Room Walk-Through: To get the full picture of the project, we took a detailed look at the room writing down all the to-do’s on the master project list (what to keep, repair, install, sell, etc.) This helped us create a game plan and eliminated some of the overwhelm by seeing exactly what needed to be done.
Design & Planning: Bringing the Vision to Life
With her vision in place, it was time to make it real. Here’s how we turned inspiration into action:
Design Questionnaire: To really narrow down and figure out her unique design style, she filled out our design questionnaire, focusing on the function of the space and the aesthetic.
Getting Inspired: Pinterest became our best friend! We saved images of dreamy offices and smart storage ideas, and put together a Pinterest board that reflected her ideal space.
Measuring: After measuring the room, we created a floor plan with zones for her work areas, workout storage and craft storage making Sure to create zones where everything would fit.
Shopping & Budgeting: Making It Happen
Create Product List & Mood Board: Using the Pinterest Board for inspiration, we created a Canva mood board for everything the room needed: shelving, craft storage, a comfy chair, and some stylish decor. Seeing everything together visually made it easy to see how the furniture and decor worked together in the space. Anything that didn’t quite work in the Mood Board was swapped out for a different item until we were happy with the look.

Mood Board
Budget & Estimate: To keep things stress-free, we created a budget and also left room for those “must-have” moments (because they always happen).
Shop: Finally, we hit the stores—both online and in-person—hunting for deals and pieces that matched her vision and budget.
The items below were purchased or used for this project. As an Amazon affiliate, I earn on qualifying purchases. Thank you for your support!


Her favorite buy of our shopping spree - a beautiful 40”x30” print of Topsham by Dan Hobday from Giri Designs. It really tied everything together and added a calming vibe to the room.

Topsham, Artist: Dan Hobday (Photo: Giri Designs)
By the end of the Strategize phase, we had a solid plan, a budget, and our organizing and decor products purchased. Next up? It was time to roll up our sleeves, tackle the clutter, and bring her dream workspace to life. Stay tuned for the Organize phase—it’s where the real magic happens!
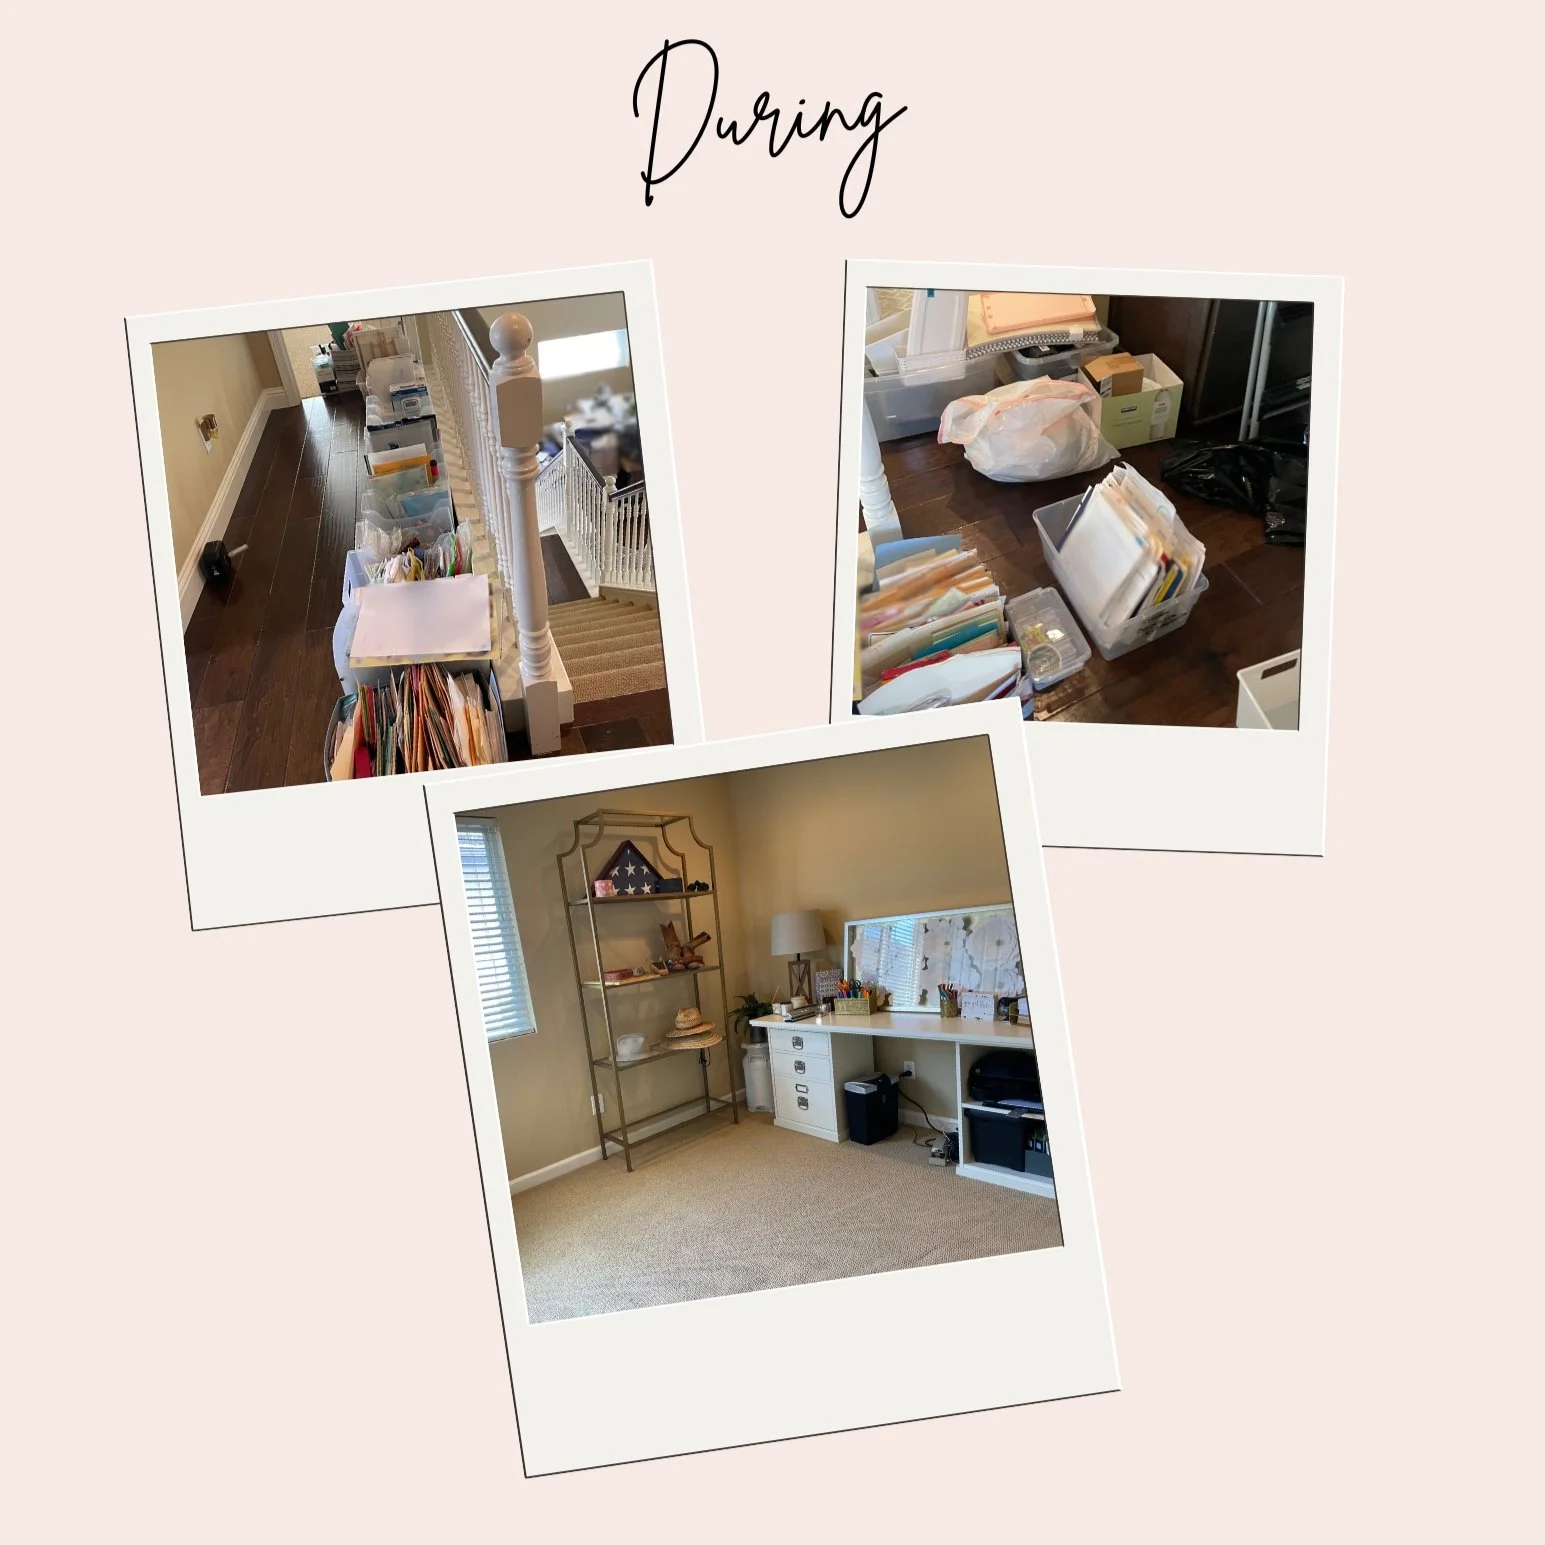
2-Organize: Taming the Chaos
Next, we rolled up our sleeves on a sunny Saturday morning and started to work on decluttering. We set up a staging area, a temporary spot where we could sort through all the stuff, just outside the room.
Sorting - Round One: With bins, trash bags, and using post-it notes as labels, we tackled the mountain of items sorting into 4 broad categories:
Keep
Donate
Trash
Other Room - a box just for things that didn’t belong in the room so we could put them away at the end of the sorting session (so we weren’t wasting time running all over the house putting things away.)
Sorting -Round Two: Once the trash and donated items were sorted out, we sorted the “Keep” items into different zones, with a separate bin for each zone:
Office supplies
Filing/Paperwork
Art supplies
Books/magazines
Scrapbooking
Shipping Supplies
Chargers/Electronics
Family photos
Sentimental items/souvenirs etc.
3-Refine: Bringing It All Together
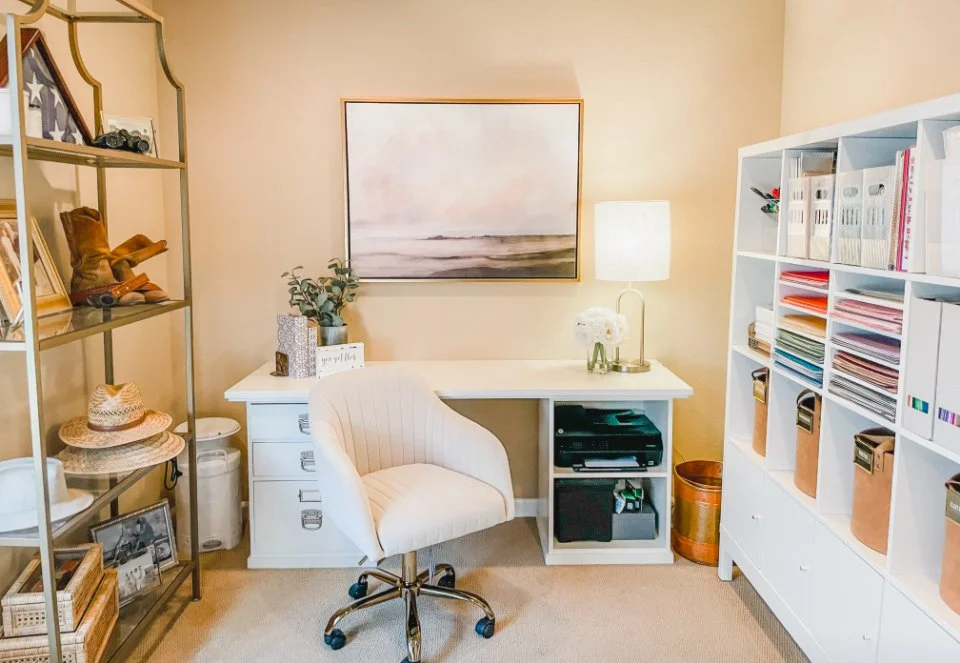
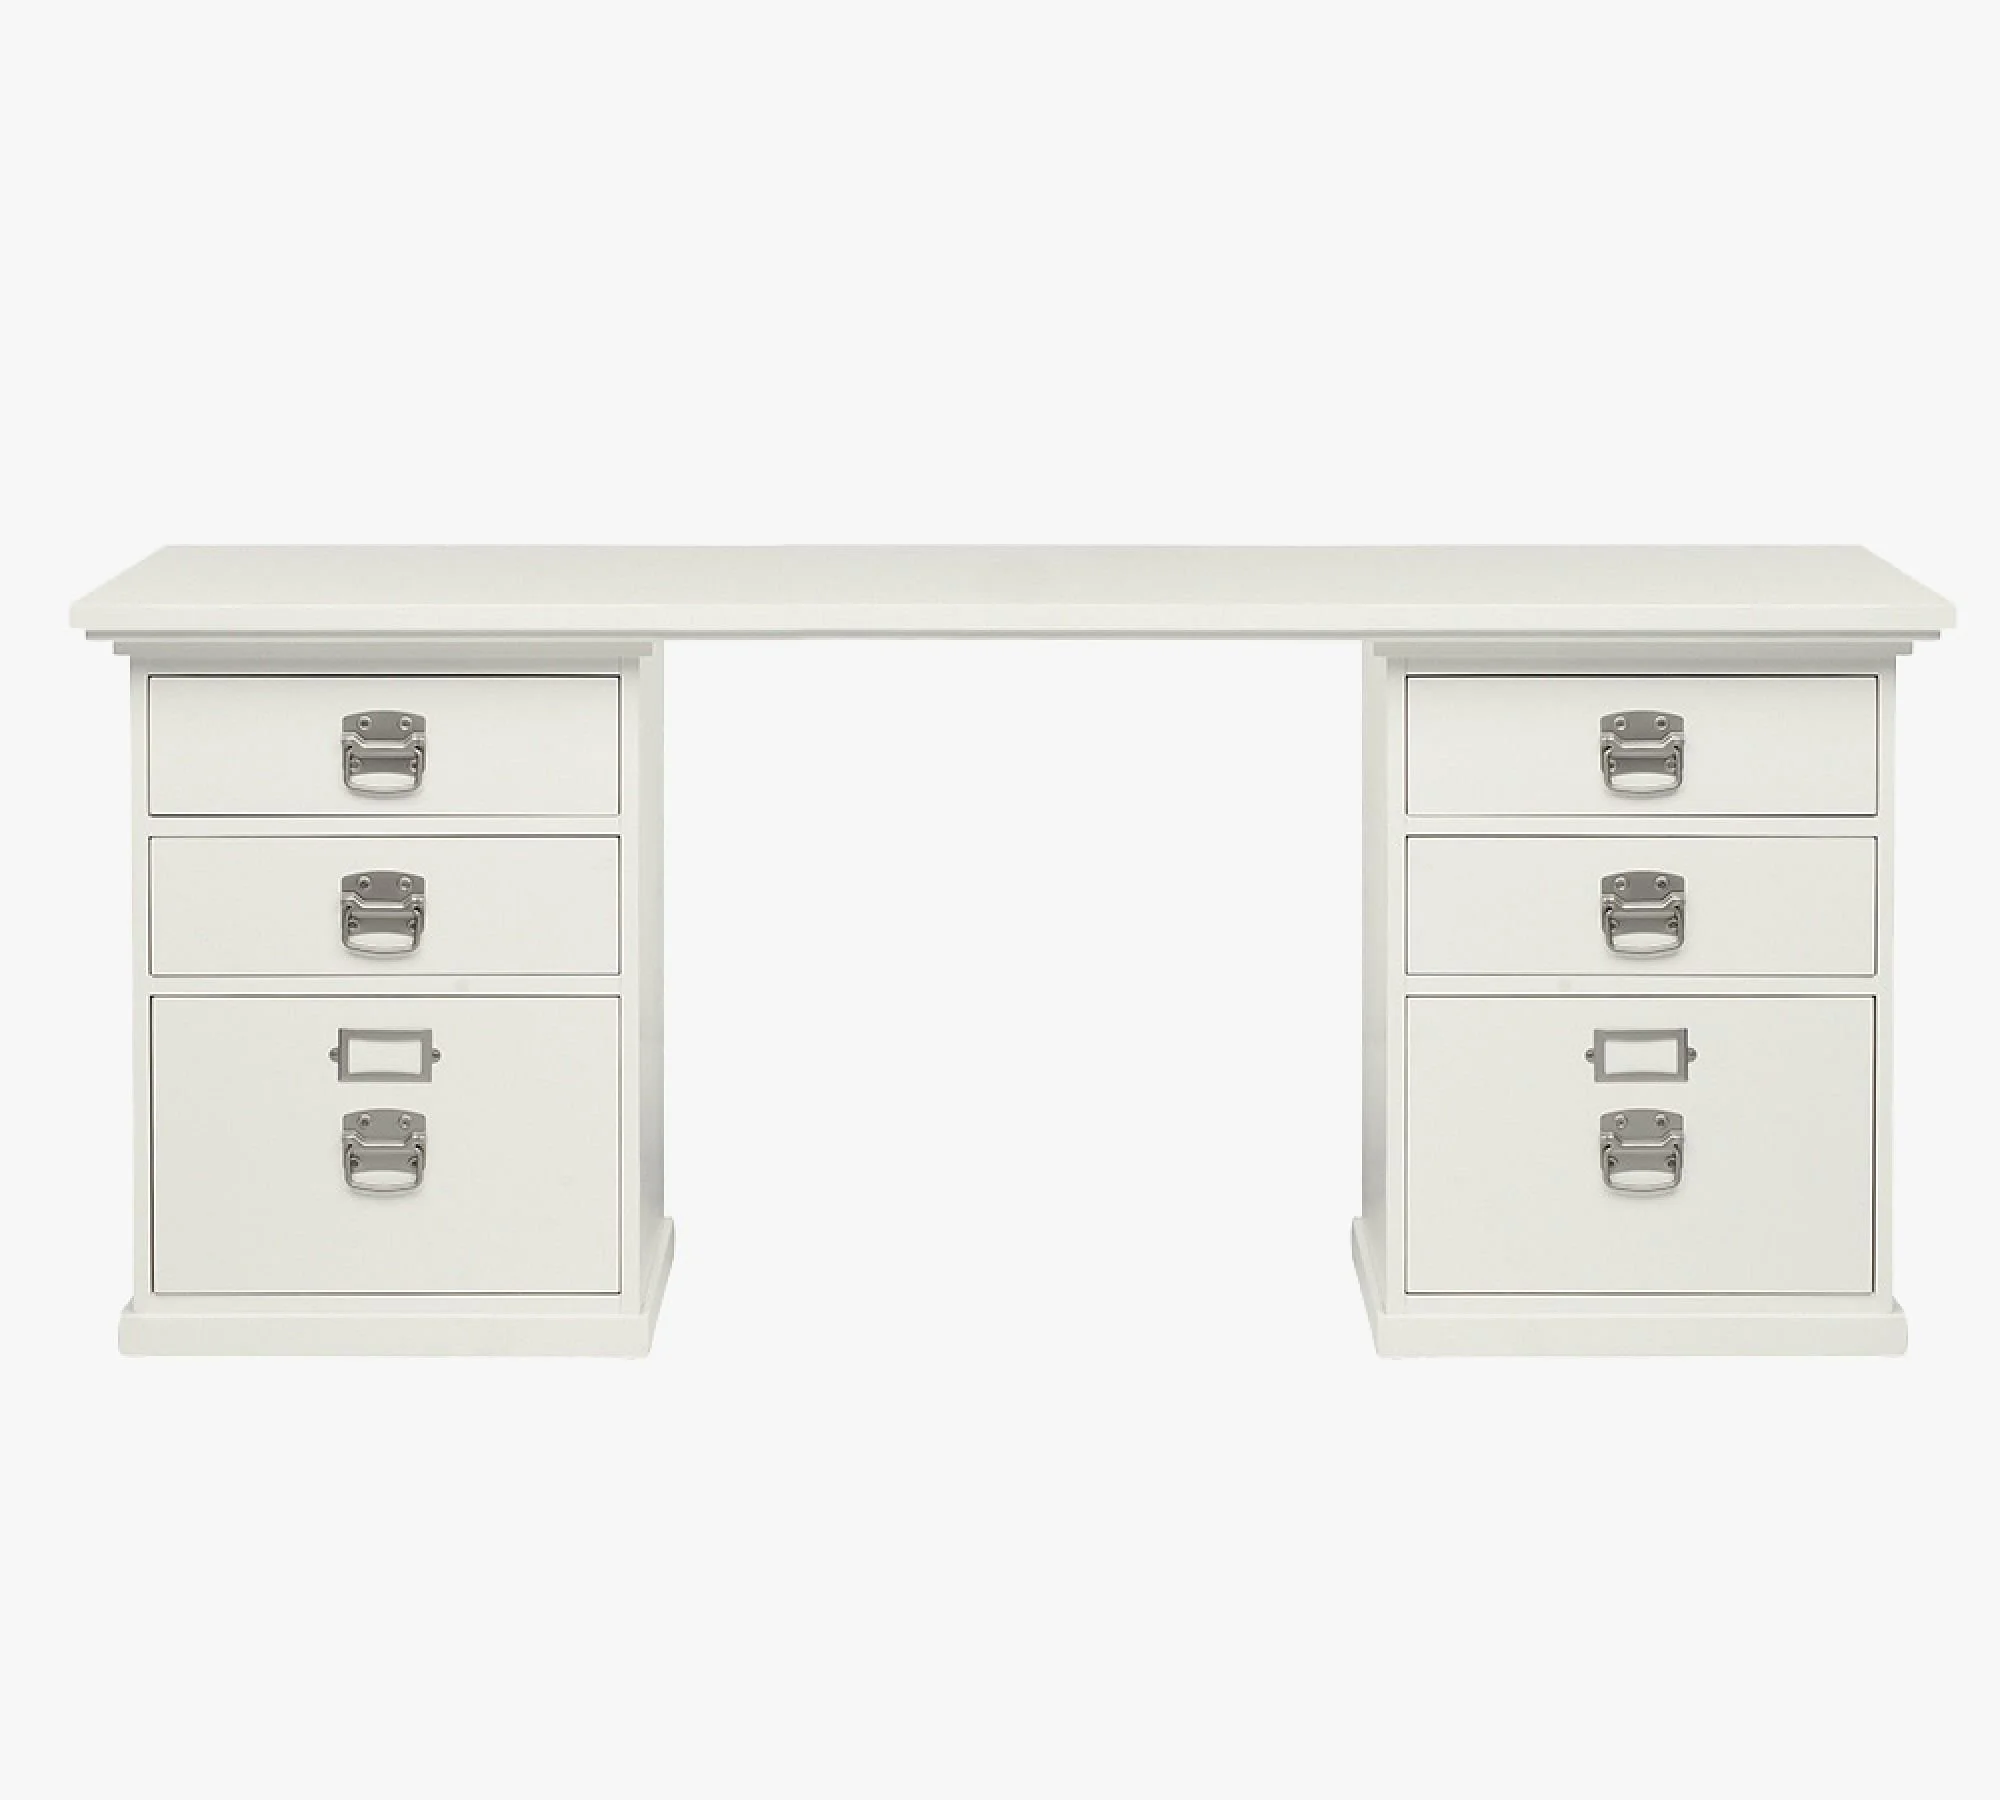
With the clutter gone, it was time for the fun part: bringing the room to life. We started by setting up the furniture like the office chair and the storage cube system.
The IKEA Kallax cube system in high-gloss was the star of this project, holding everything from paints and papers to sentimental keepsakes, all neatly tucked away.
To keep things practical, we labeled everything with the Brother P-Touch label maker—bins, drawers, and shelves—so everyone could easily find what they needed and put it back in the right spot.

Kallax storage cube system from IKEA.
We added personal touches, like framed family photos and shadow boxes filled with mementos, that made the space feel homey and inviting.

TLC/Maintenance: Keeping It Fresh
Once the room was complete, we talked about how to keep it looking great. She set up a simple routine: a weekly tidy-up to keep things in order and a monthly cleaning to reset the space. With everything labeled and a clear system in place, maintenance becomes a 15 minute task instead of an all day thing!
Mission Accomplished: Office Space Sorted!
When we stepped back to check out the transformation, it was hard to believe this was the same room. What once been a cluttered, chaotic mess was now a bright, functional, and inviting home office. Sara loved her new space and looked forward to actually using the room for the things she loved doing!
Transforming a cluttered space can be an adventure, not a chore! With a clear plan, a little creativity, and a step-by-step approach, you can turn even the messiest of rooms into a space you love. The S.O.R.T. method is your roadmap to success! Ready to S.O.R.T. it out? Let's do this!
Your Turn!
Feeling inspired? If you’re ready to tackle your own space, why not get the full blueprint? The Finished Farmhouse Guides: Sorted Office breaks down every detail of the process - creating your North Star Statement, making a project list, creating a budget and sticking to it, choosing the right storage solutions, adding those custom finishing touches, and more!
This 90+ page guide is packed with practical tips, checklists, and insider tricks to help you create a workspace that works for you!
Don’t let the overwhelm hold you back—grab your guide today and start transforming your space! Your dream office is closer than you think!
Let the makeover magic begin! 🎨✨
Instant Digital Download
No waiting, no shipping—get started right away! The Finished Farmhouse: Sorted Office is a digital download, giving you immediate access to the guide. Download it now and start organizing today!